For many homeowners, the idea of a floor restoration sits on the to-do list for years because they’re overwhelmed by the process.
When people first enquire about timber floor restoration, we often hear that they may be concerned about noise, dust, mess and having to leave their home.
The reality is that modern floor restoration is far more controlled, planned and efficient than most people imagine.
When done properly, it’s a structured process designed not only to transform your floors but to minimise disruption to your home and routine.
In this blog, we explain the process in detail so you can go into this process feeling informed.
Step 1: Pre-Work Planning
Every successful floor restoration starts before any machines arrive.
The first step is a physical on-site assessment that includes a thorough walkthrough of your home and flooring.
During this visit, we assess:
- The condition of the timber
- Existing coatings and finishes
- Areas of wear or damage
- Access points and layout
- Furniture and household logistics
- Pets, children, and how the home is used day-to-day
The planning stage is critical. It allows us to map out a restoration approach that is realistic, efficient and tailored to how you live, not just how the floor looks.
Clients are talked through timing, staging, access and what to expect at each phase.
It’s also where we address the level of disruption to expect.
With proper planning, disruption is reduced well before sanding begins.
Step 2: Preparing the Home
Preparation is often the part homeowners worry about most, particularly when it comes to furniture and whether they’ll need to move out.
In most cases, a full relocation isn’t necessary. Instead, restoration is usually staged.
Furniture planning
We guide clients through what needs to move and what can stay. Where needed, we can suggest services that relocate items into garages or unaffected rooms.
This avoids unnecessary stress and keeps the process efficient.
Living in the home
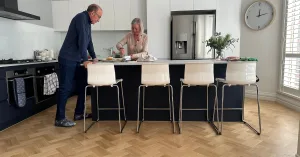
Many households can remain living at home during a floor restoration.
Access to work areas is restricted during the day, but evenings are often usable once sanding stops and equipment is packed down.
It’s less about vacating entirely and more about practical, temporary adjustments.
Pets and children
Pets and kids can be managed within the space by setting up restricted zones, having supervised access and temporary sleeping arrangements.
Again, planning, not upheaval, is what keeps the process manageable.
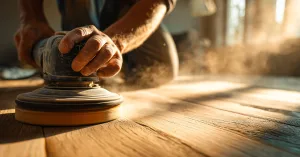
Step 3: Sanding
Sanding is the most misunderstood part of floor restoration, so it’s worth addressing directly.
Dust
Modern sanding systems use professional dust extraction units designed to capture airborne particles at the source.
Although we’d like it to be, it isn’t completely dust-free, and any company that claims otherwise would be exaggerating.
But it’s also nothing like the heavy, uncontrolled dust people often imagine from decades past.
Doorways can be sealed, adjacent rooms protected, and post-work clean-downs are standard. Most clients are surprised by how controlled the environment feels.
Noise
Sanding is noisy, but it’s not constant from morning to night.
It happens in stages:
- Initial sanding passes
- Edge work
- Detail sanding
- Intervals for inspection and prep
These quieter windows break up the day more than people expect.
Many homeowners plan errands, workdays out, or school runs around active sanding hours and find it far more tolerable than anticipated.
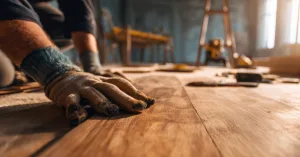
Step 4: Repairs and Detail Work
Once sanding exposes the raw timber, the floor’s true character becomes visible, including any areas that may need attention.
This is where experience plays a significant role in the quality of a floor restoration.
Depending on the floor, this stage may include:
- Securing loose boards
- Filling small gaps
- Repairing old damage
- Replacing isolated boards
- Blending previous patchwork repairs
Where replacement timber is needed, reclaimed boards can often be sourced and matched for continuity.
And it’s often the stage that explains why restoration quotes can vary across providers. Attention to detail will directly impact the final result.
Step 5: Coating and Finishes
With sanding and repairs complete, the protective finishing stage begins. This is where the visual transformation really takes shape.
Modern floor restoration typically uses water-based coatings, which offer several lifestyle advantages:
- Low odour
- Fast drying times
- Clear, natural finishes
- Reduced yellowing over time
Many clients compare the smell to fresh wall paint rather than harsh chemical fumes.
Multiple coats are applied, with drying time between each layer to ensure durability and consistency.
We guide homeowners through finish selections based on:
- Desired sheen level (matte → satin → gloss)
- Household traffic
- Pets and children
- Interior design palette
- Maintenance preferences
Step 6: Curing Time
One of the biggest surprises for homeowners is how quickly life returns to normal after a floor restoration.
While full curing takes time, light foot traffic is often possible relatively soon after final coating.
We recommend that furniture return be staged and guided carefully:
- Heavier items are repositioned and with protection
- Rugs are delayed until coatings fully breathe
- Felt pads are recommended to prevent scratching
Clear aftercare instructions are provided so clients know exactly what to do and what to avoid in the early weeks.
Most households return to routine faster than expected.
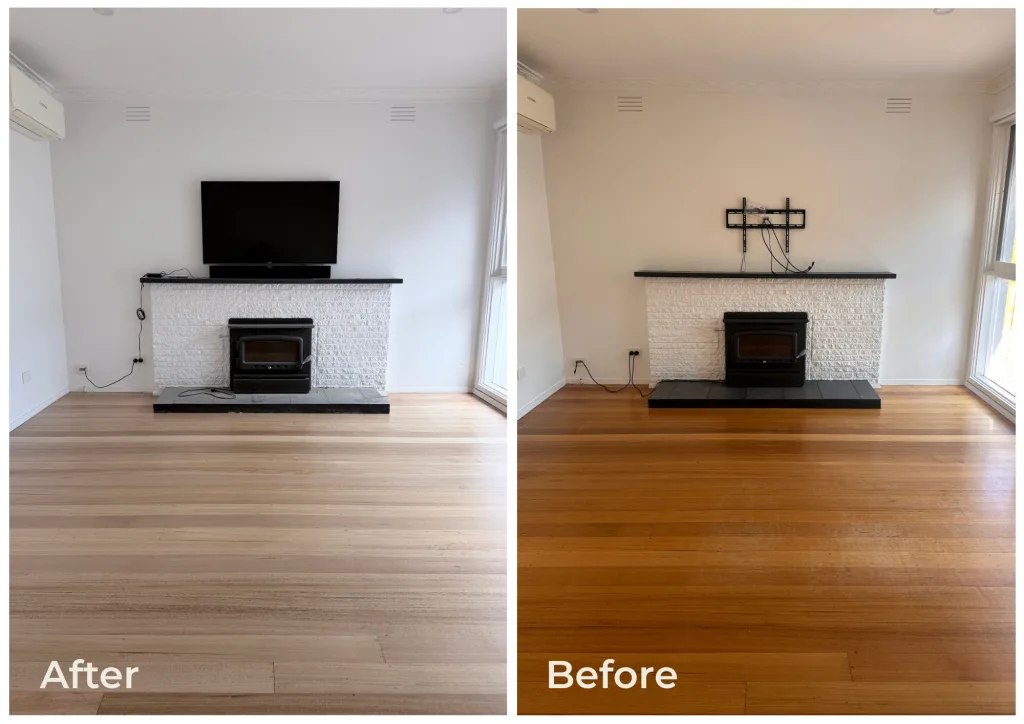
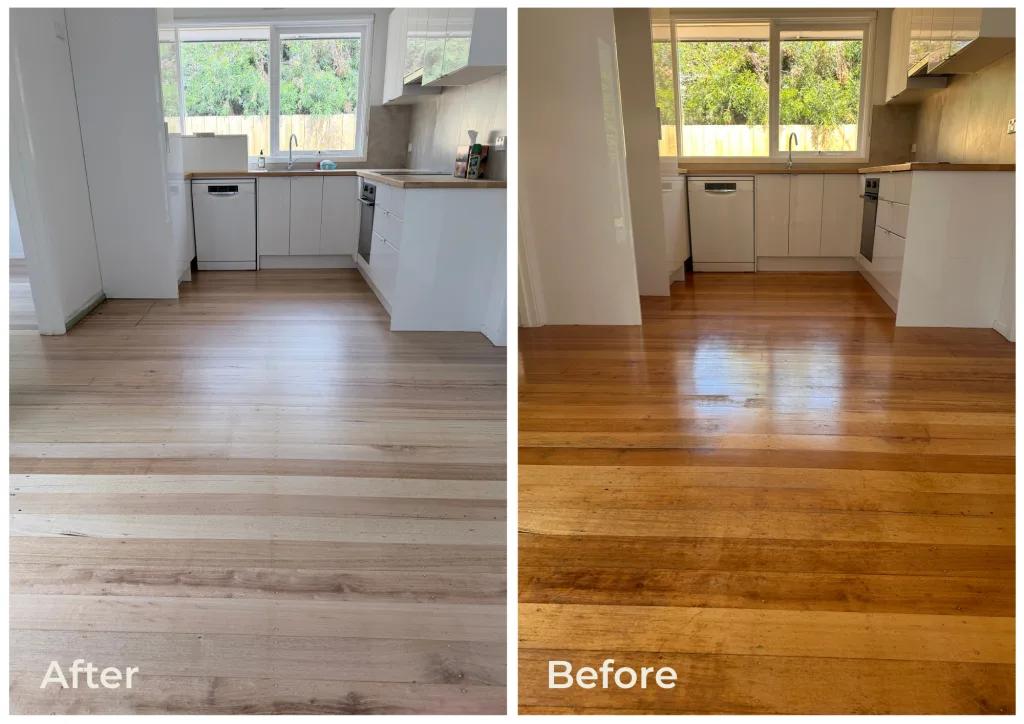
When the restoration is complete, the transformation is often more significant than homeowners anticipate.
Floors that once felt:
- Orange
- Dull
- Scratched
- Heavy
- Tired
Typically appear lighter, cleaner and more natural.
Final Thoughts
Many clients tell us they didn’t realise how much the old coating was affecting the overall feel of their home until it was removed.
A professional floor restoration doesn’t just improve the timber, it lifts the entire space, and it achieves this without the cost, waste or structural upheaval of full floor replacement.
Restoration doesn’t end when we leave.
We guide homeowners on how to maintain their newly finished floors, from cleaning products to furniture protection and long-term recoating timelines.
With the right care, a restored timber floor can perform beautifully for many years before needing attention again.
Delaying a floor restoration is often driven by fear of disruption and inconvenience rather than the process itself.
But modern restoration is structured, planned and far more lifestyle-friendly than its reputation suggests.
With proper assessment, staged work, professional dust control and fast-drying finishes, the process is designed to fit around your home, not displace it.
For a no-obligation floor restoration quote, contact us today.